


About the Scope
The latest edition of the 6X Short Malcolm scope is a studious, well-mannered look back at the era of rifle telescopes, around the years 1865-1880. Built around an old design and using the latest materials, this scope is built to help you reach out and touch something.
This scope has a few features that distinguish it from its more modern brethren. This section will provide an overview of both the strange and commonplace features of the scope and mounts.
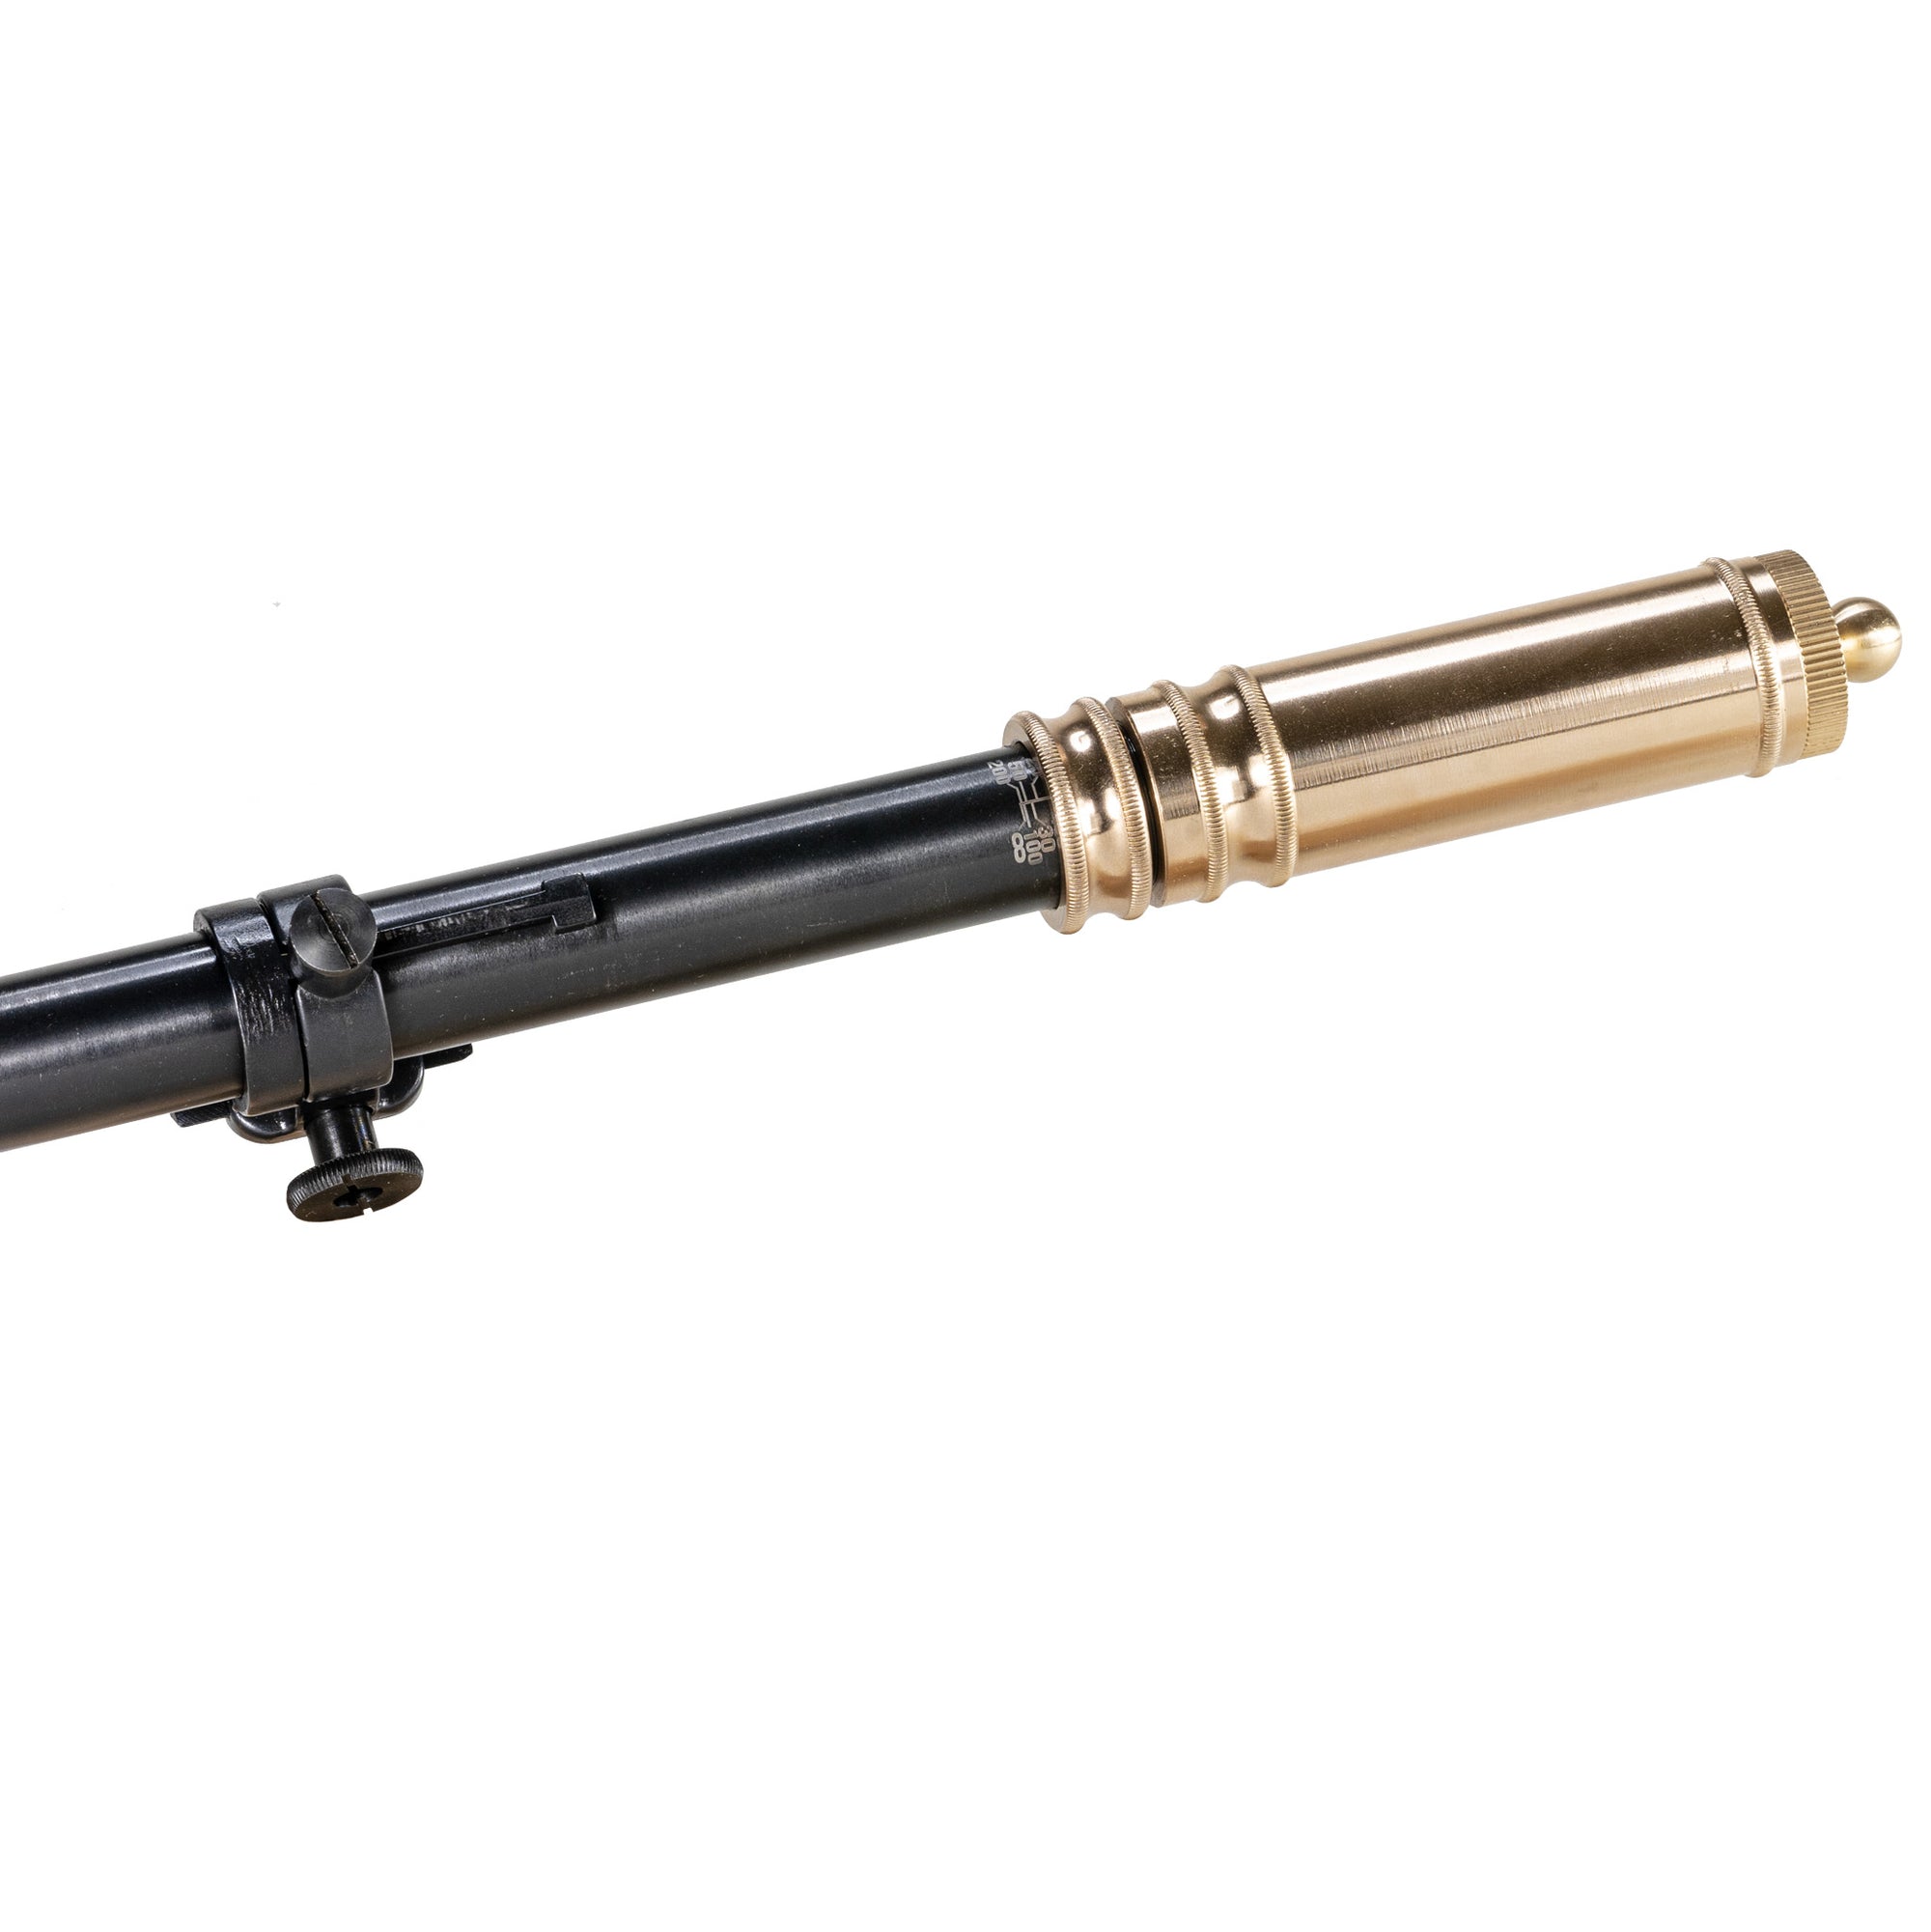
The eyepiece allows for adjustment of reticle focus, matching the scope to your prescription. Meanwhile, the objective end can be rotated to set the parallax/target focus. The tube itself is straight, meaning it does not have an objective bell. Even without the bell, the clear glass ensures astounding light transmission.
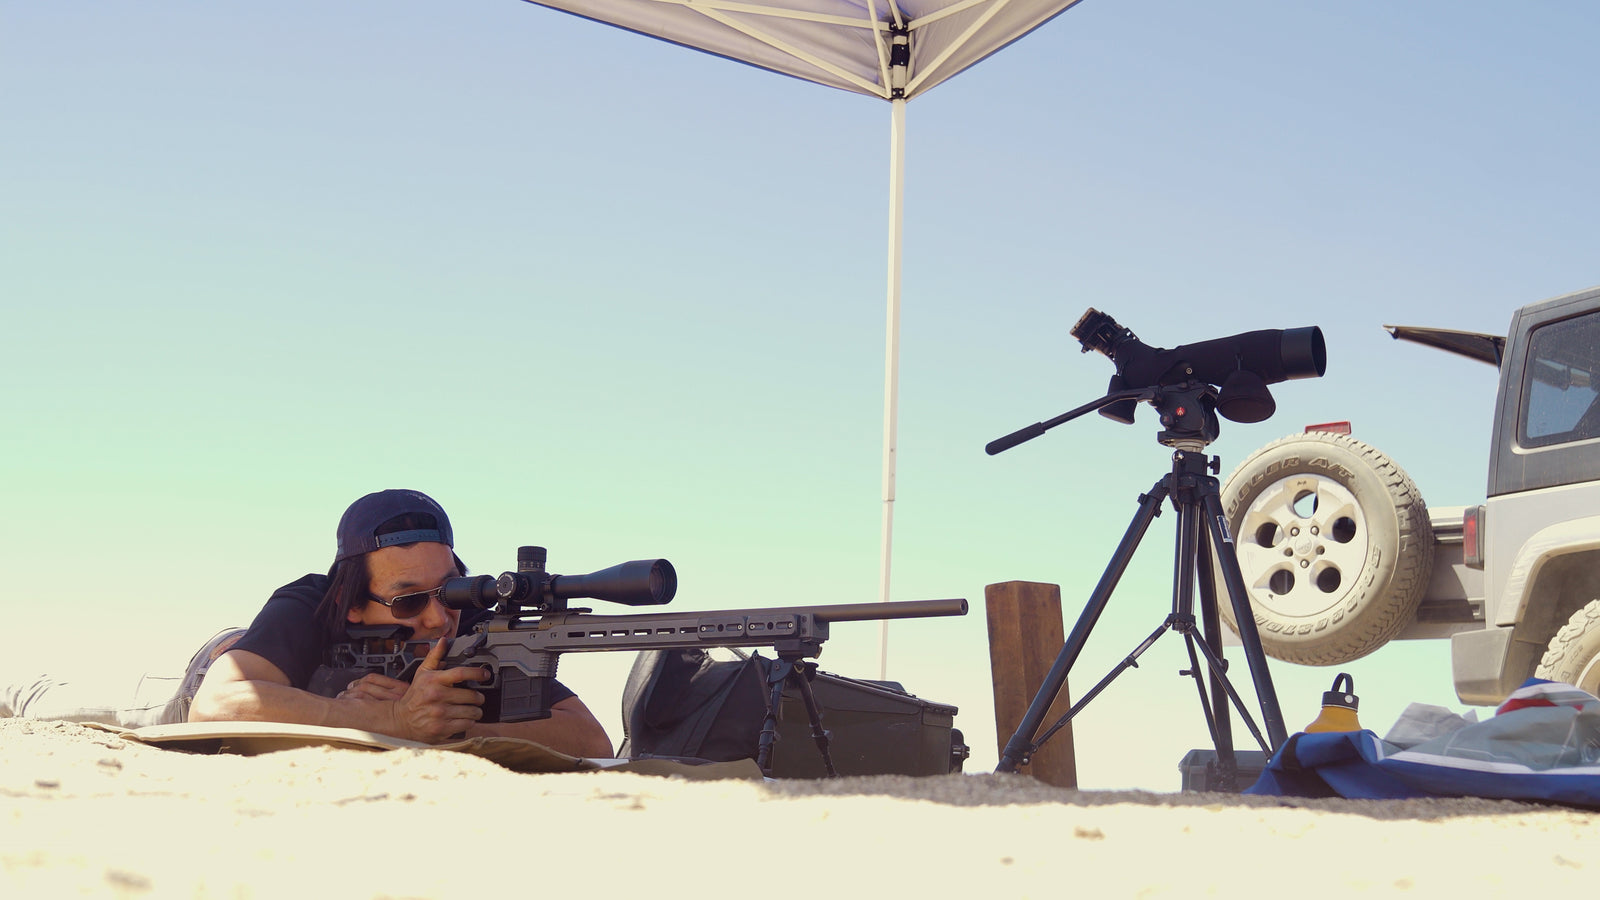
The scope slides under recoil. This is a call back to classic Unertl scopes or anything with a Pope rib. The scopes at that time did not have sturdy enough glass, tubes, or reticles to withstand the recoil of some larger calibers. Scopes would slide due to recoil, mitigating the potential force they'd be forced to endure. After each shot, the scope would need to be pulled back into battery (the starting position). Sliding due to recoil is a purposeful part of this scope system and has no effect on the precision or aim of the scope.
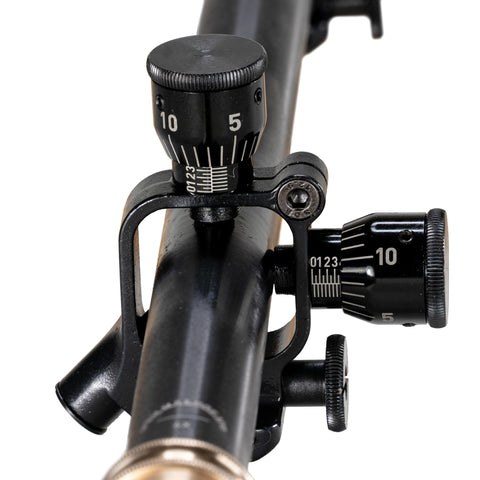
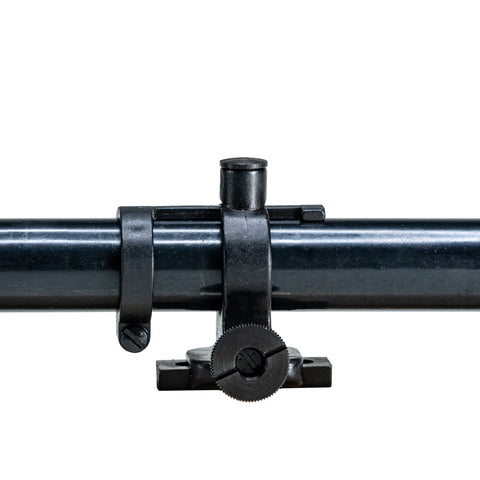
The adjustments are external, meaning you'll actually be pushing the scope around using the turrets. It'll be a little like positioning a telescope to point at a different part of the sky. Shoot for the moon! These turrets are marked with index lines at regular intervals, though the value of each line can change depending on the mount spacing.
The rings can be placed at different positions on the scope tube, and can be mounted on the rifle with different spacing between the rings. Changing their position changes the amount of adjustment that each index line will refer to. We follow the historical spacing of 7.25" between the mounts (center to center). This provides 1/4 MOA adjustment per index line on the turrets. Spacing the mounts farther apart will make those adjustments finer. Closer becomes coarser.
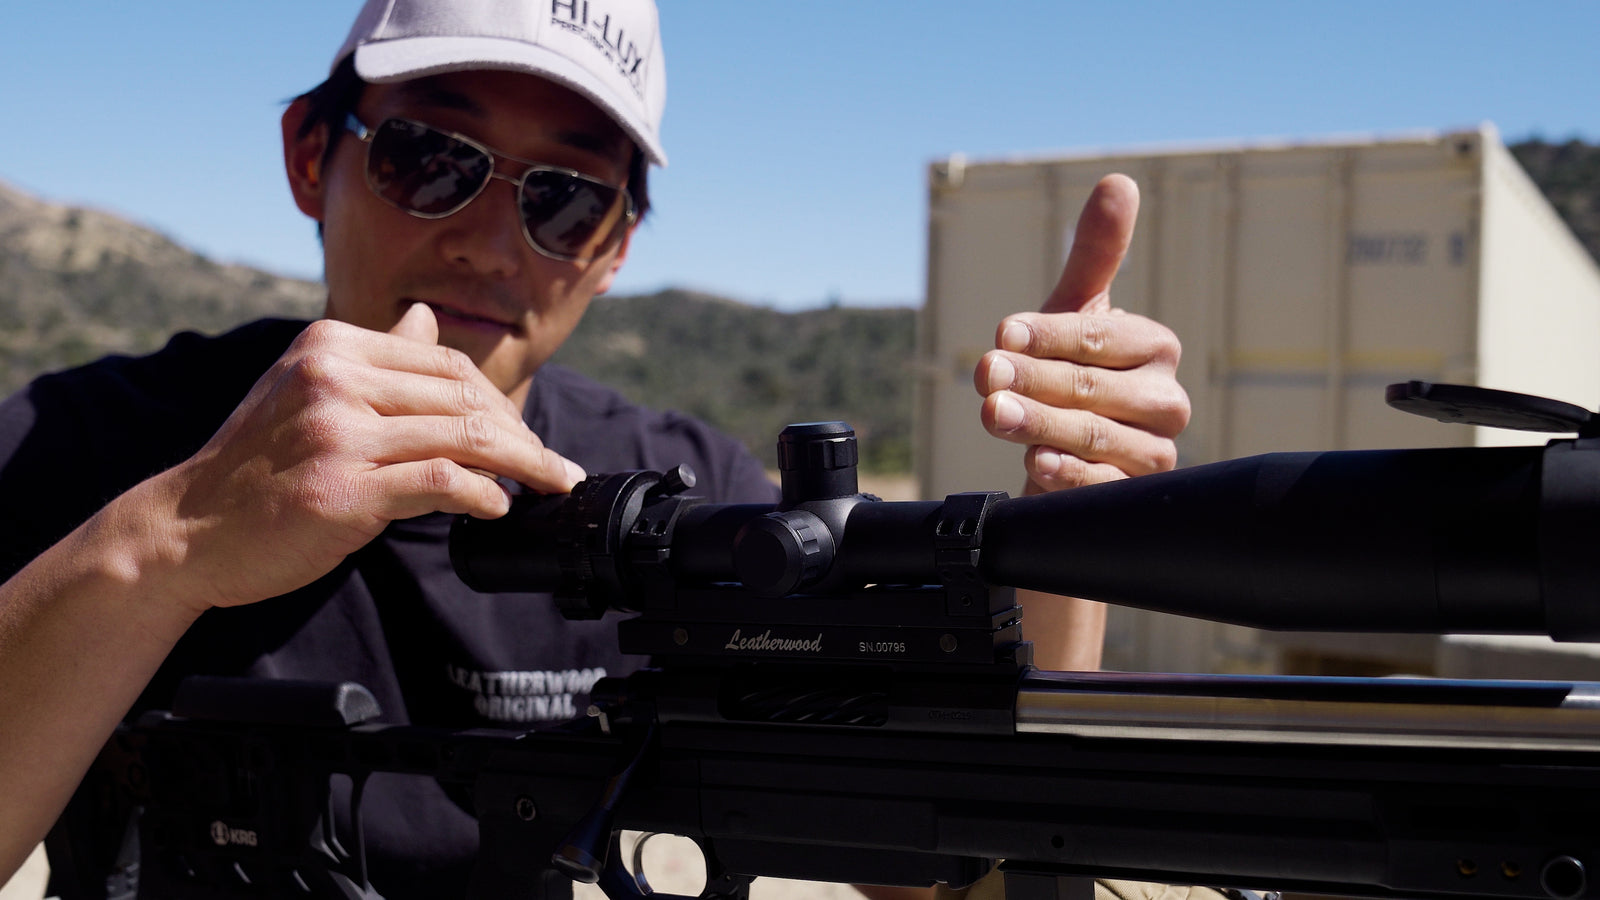
The upper right corner of the rear ring (where the turrets are) has a screw to adjust tension on the turrets. The tension on the turrets can be increased all the way until they lock in place completely.
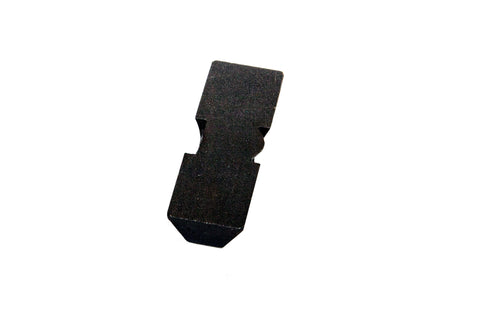
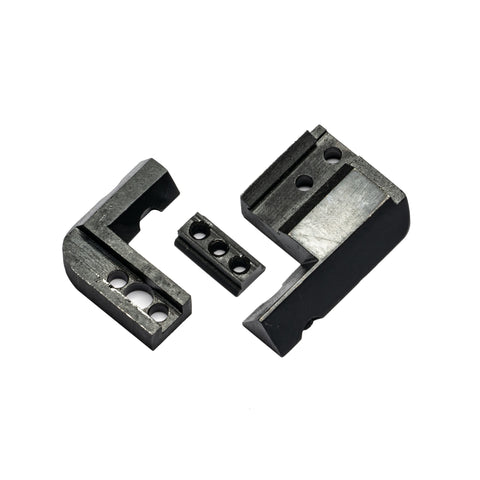
The rings attach to the rifle via bases, also known as blocks. The bases are 1/2" across (nominal), with 60 degree sides. In order to clamp securely on each base, each ring and base have a matching crossbolt/cut pattern known as a crescent cut. When the thumbnut is tightened, the end of the crossbolt fits tightly into the crescent-shaped cut of the base. (In the above image, the crescent cut is the style on the right side. The left side is an older standard known as 'Posa'.)
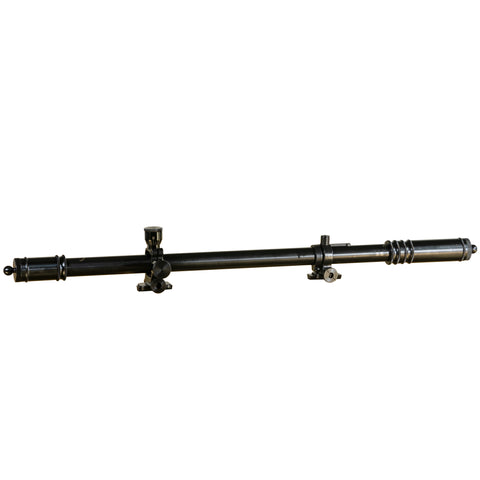
- Length: ~18"
- Weight: 23oz
- Tube Diameter: 0.75" (3/4")
- Magnification: 6X
- Focus Range: 10 yards to infinity
- Mount Type: Clickless competition mounts
How to Use
This scope features all four classic adjustments. Windage, elevation, reticle focus, target/parallax focus.
Adjusting the point of impact on this scope follows one easy rule: Adjust the eyepiece in the direction you want the impact to move. For example, to move an impact to the left, adjust the eyepiece toward the left.
To adjust the elevation, simply turn the elevation turret. Clockwise will push the eyepiece down, and will adjust the impact down. Counterclockwise will move the eyepiece up, and will adjust impact up.
To adjust windage to the left, rotate the windage knob clockwise. To move the impact right, rotate counterclockwise.
The upper right corner of the rear ring has a tension screw. This can be adjusted to set the tension on the turrets. More tension will make the turrets harder to turn, and also harder to accidentally knock onto a different setting. At its maximum tightness, the screw will lock the turrets completely.
Getting the reticle in sharp focus requires you to turn the eyepiece to the proper setting. Once the proper eyepiece setting is found, lock the eyepiece in place by turning the locking ring. It's easiest to determine reticle focus when pointing the scope at a plain background, such as the clear blue sky. Once this is set, the scope will be sharp for your vision/prescription.

This scope has a second type of focus, known either as target focus or parallax. Adjusting the objective end of the scope will change your focus on the target, and adjust the parallax setting of the reticle. Parallax is an issue that pops up when your eye or head moves slightly in relation to the eyepiece. An improper parallax setting will cause the reticle to shift depending on where your head shifts, which can cause the precise point of aim to shift as well. If the reticle stays on the exact same spot on the target despite movements of your head or eye, the parallax is properly set. Adjustments are made by rotating the objective, and it is locked in place by a similar lock ring to the eyepiece. Due to the slight changes in focus that occur when setting the eyepiece, the distance markings for parallax focus may not be precisely correct. Instead, these markings should be treated as a reference value to get you in the ballpark.
Adjustment values and total adjustment range can vary depending on the spacing between the front and rear rings (center to center). At a spacing of 7.25", each index line on the turret will refer to 1/4MOA. With a spacing of 5.4", each mark becomes 1/3 MOA. And on the other side, a spacing of 9" turns the marks into 1/5 MOA.
Each of the turrets can be re-indexed. Using an allen key, loosen the three set screws around the perimeter of the turret face, then turn the face to a new position. Tighten the three set screws again, and you're ready to hit the range.
The scope is able to slide, and uses this feature to avoid the majority of recoil's effects. When a round is fired, the rifle kicks back. The scope stays right where it is, as the rifle slides by underneath (this will give the appearance that the scope slides forward on each shot). After each shot, you'll need to pull the scope back to its normal position (back to 'battery'). The sliding does not affect the precision or aim of the scope, but a fully-forward scope will make finding a good head position difficult.
Eye relief, the sliding action, and the level of the reticle are all set by the sliding lock ring found intermingled with the front ring. To change the eye relief: loosen the screw that closes the lock ring around the tube, move the scope to the proper eye relief position, push the lock ring back against the front ring (while holding the scope in place), then tighten the screw. To level the reticle, simply rotate the scope tube while the screw is loosened.
Setup
Mounting
Before the Picatinny or the Weaver rail, scope rings mounted onto rifles via blocks - also known as bases. Just as rails have teeth for rings to grip onto without sliding, bases have a particular cut. The tip of the crossbolt locks into this cut, provided their shapes agree. Historically, two shapes of cut were most commonplace - Posa and Crescent. This scope, just like the Unertl line of scopes, uses the Crescent cut.
In order for the scope to be mounted securely, both rings must be on the scope tube and both rings must be clamped to the gun somehow. Typically the rings will be clamped onto the provided Crescent Cut bases, but alternatives do exist. The bases, or their alternative, must in turn be securely attached to the rifle. A loose Picatinny rail can be bad news; having loose bases is equally bad news.
If you look at a base from tip to tail, it'll have the shape of a trapezoid. The narrow side is what presses against the barrel or receiver. The wide part is where the ring clamps. The crossbolt cut should be on the same side as the thumb nut of the ring.
Bases can be either round-bottomed or flat-bottomed. A flat-bottomed base can only go on an octagonal barrel, or some other flat surface. A round-bottom base fits best on a round barrel, but can also work fine on an octagonal barrel if the base is not as wide as the flat portion it's on.
Due to the variety of old rifles, actions, ejection paths, and barrel bands, mounting one of these scopes can become a little tricky. These rifles were sometimes designed before newfangled 'rifle telescopes' became commercially available. I'll break down some of the general ideas:
The simplest way to mount one of these scopes involves putting both bases directly on the barrel. Each base requires two screws to mount securely. At the end of the day, this means four holes would need to be drilled and tapped (two pairs of two holes). Mounting in this way keeps the scope in-line with the barrel and provides the greatest range of adjustment. It does also require the aid of a gunsmith, and the willingness to drill four holes. However, this will not work on rifles that are top-eject, as the scope would block the ejection path of the case.
If you do not want to machine the rifle in any way (including drilling holes), we may have an adapter / bracket that can allow the scope to mount on the rifle without any modifying. In most cases, all you'd have to do is knock out the rear iron sight in order to free up the dovetail cut.
Before diving in, a few notes: Some of these kits mention specific rifle models, but may potentially work fine with other rifles. On the other hand, some of these kits are made for rifle designs that have become standardized more recently than their original counterparts. I'll try to include all the points to look out for below. Potential issues will be written in red.
- Winchester '92/'94 Kit : This rifle is a top-eject, so the scope needs to be offset to one side. The rifle will need a rear dovetail (typically 3/8") and two holes on the left side of the receiver to mount a two-piece bracket. The two holes are commonly drilled by manufacturers in order to fit receiver sights made by Lyman or similar. Very old rifles, such as original Winchesters, were produced before this hole pattern or dovetail idea became standardized. Modern Winchesters (within the last 80 years or so) typically have these holes on the receiver. Other rifles, such as some Browning, Remington, or Rossi rifles, will have a similar hole pattern and dovetail placement and could also use this kit to mount a scope offset.
- Marlin '94/'95 Kit : Uses two holes on the barrel in addition to the rear dovetail to mount a two-piece bracket. This can can also work on the Henry Big Boy. You'll need to knock out the rear iron sight to free up the dovetail.
- Henry Golden Boy Kit : This kit includes a bracket and dovetail. Knock out the rear iron sight on the barrel, then install the dovetail. Attach the bracket to the dovetail. The bracket has two blocks already on it, which the scope rings attach to. The HGB Mounting Kit is designed for the Golden Boy only. Other rifles, even other Henry rifles in .22, do not have the proper band spacing and dovetail placement for this bracket to fit.
- Winchester '73/'76 Kit : This rifle is top-eject, so the scope needs to be mounted offset to the side. The two-piece mounting bracket makes this possible by moving the scope off to the left. The forward piece of the bracket replaces the rear iron sight. The rear piece of the bracket replaces the dust cover, sliding on to the rail that the dust cover normally occupies. Certain models of the 76 or older models of the 73 have receivers which are oversized on the curved upper portion of the receiver. In these cases, the underside of the rear bracket can be ground down to make the bracket fit; A quick visual inspection should make it apparent where the bracket is contacting the receiver.
- 1885 (Miroku) : 1885 model rifles modified by Miroku will have two holes drilled and tapped on the receiver, right over the rear of the chamber (just forward of the breech face). This two-piece bracket utilizes those two holes along with the rear dovetail cut to attach mounting bases. Due to the height of the receiver in relation to the barrel, this may put the scope at a slight downward angle (as much as 0.6 degrees in some cases). For shooting at a distance, this angle has no real effect. At closer distances, the scope may not have enough room to level out. To get on target at close distances (e.g. 25 yards), it may be necessary to either shim the front bracket higher or grind down the rear base. In either case, it is always preferable to modify the mount and not the rifle.
- Rimfire Rifle Bases : For rimfire rifles such as the Henry H001, this two-piece mounting kit utilizes the 11mm rail atop the receiver along with the rear dovetail cut. The rear mounting clamp can be moved forward or rearward along the rail to adjust the distance between the scope rings.
Attaching the rings to the bases is not much different from attaching rings to a modern picatinny rail. Slide the rings on, getting each roughly centered on the base. Begin tightening the thumb nut, rocking the ring forward and back to ensure the crossbolt is catching in the cut. You should be able to feel the face of the crossbolt slide into and the center on the cut. Tighten the thumb nut to finger tight, or a little tighter using the specialized spanner.
Eye Relief
With the rings on the blocks and the scope in the rings, the next step is to set your eye relief and plumb the reticle (at the same time). The sliding lock ring will need to be loose for the following steps to work.
First, set the eye relief. Get your cheek on the cheek rest, and push the scope forward and backward until the eye relief is just right. To level the reticle, grab the scope tube and rotate the scope. This will be the scope's position in battery - the 'home' location of the scope.
Next, grab the scope firmly to keep it from sliding or rotating. While the scope is so held, push the lock ring back (toward the eyepiece) until it makes contact with the front ring. Tighten the screw on the sliding lock ring to fix the ring in place. This only requires a few pounds of torque.
Focus
This scope has two forms of focus. One focus is the kind that affects the reticle and the general eyeglasses prescription setting of the whole scope. The other focus is a target/parallax focus.
To set the reticle focus, first loosen the eyepiece lock ring. Then, rotate the eyepiece until the reticle is in sharp focus. To make sure the scope is set how your eye likes, set the focus when looking at a plain background such as the clear blue sky. Once the eyepiece is set, lock it in place with the lock ring. Generally, eyepiece focus only needs to be set once. It will change only when your prescription changes.
Target focus is changed depending on target distance, and may thus change quite frequently. It is set in a similar manner to eyepiece focus, though at the objective end. Loosen the lock ring, then rotate the objective until the target is in focus. To ensure the parallax effect has been eliminated, you can move your head or eye slightly from side to side. If the reticle does not 'drift' over the target, the parallax is set perfectly.
The objective end of the scope has distance markings that will get you close to the proper setting. Due to the slight shifts in focus achieved by setting the reticle focus, the distance markings for the target focus will not necessarily be exact. I find it's beneficial to make witness marks to indicate the true distances on my own scope. Draw a line from the lock ring onto the body of the scope that can be used for alignment later on. For this purpose, nail polish and paint can be quite useful.
Removal
At times, you may want to completely remove the scope tube from the rings. Doing so is pretty straightforward: Remove the eyepiece and eyepiece lock ring. Loosen the screw holding the sliding lock ring in place. Then, slide everything backward toward the eyepiece. All the rings should slide right off the scope tube.
To reduce or prevent scratches on the scope tube, I like to remove the springs and plungers from both rings. The rear ring (with the adjustments) has a spring and plunger in the bottom left. The front ring has a spring and plunger at the top of the ring. In either case, removal is the same. Unscrew the cap from the spring and plunger assembly. The spring will attempt to jump out of the assembly, so please go slowly. With the cap and spring removed, the plunger can be gently shaken out. Once the plunger is removed, the ring will no longer apply pressure to the scope tube, allowing the rings to be slid off the scope without affecting the finish.
Further Details
I personally prefer to mount the bases directly to the barrel whenever possible. This maximizes the close travel range of the scope, allowing it to be moved until it's level with the barrel. This is not always possible or desirable, as in a rifle that is top eject or that has a barrel too thin to drill and tap. Still, I prefer it when it's an option.
On low-recoil rifles (especially .22), the scope can be set not to slide. Loosen the screw on the sliding lock ring, hold the scope in place, push the sliding lock ring forward until it contacts the front ring, then tighten the screw again. When the rifle is fired, the scope will not have the ability to slide forward, preventing the need to pull it back. This is not recommended for rifles with significant recoil (such as .45-70), as the recoil will bounce the scope backward toward your face.
Notes
This scope is period-correct for setups around 1870 and later.


Leave a comment (all fields required)